Your cart is currently empty!
Setting up the Annexe for your Cameron Camper Trailer (Commando & Gen series)

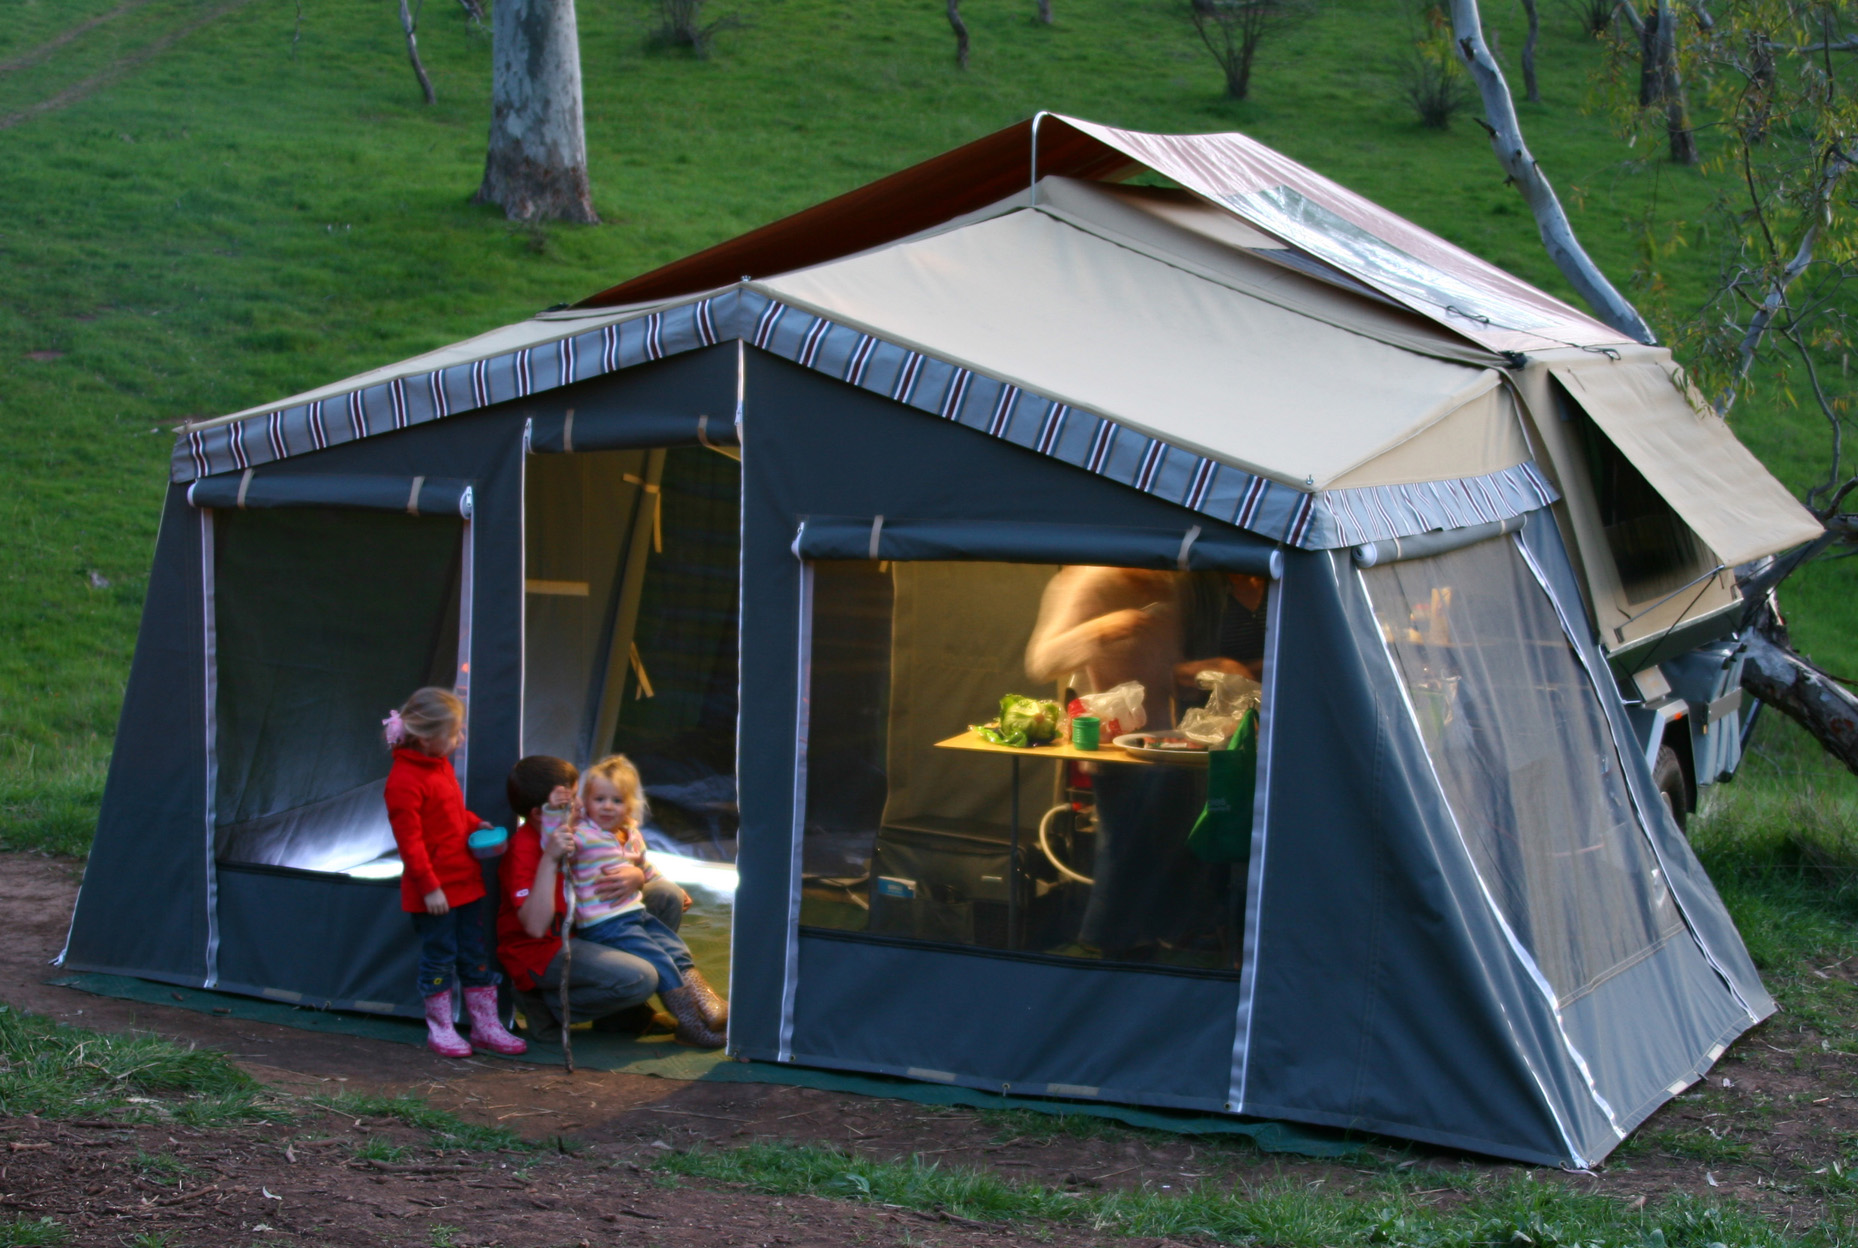
Setting up the Awning (or Annexe)
- Lay all poles and spreaders out on the ground in the position that they are to be used (i.e. thumb screws not touching roof).
- Zip on your awning, starting from the trailer end – stand on the tailgate, zip on as far as you can, then continue with cord or use the end of a spreader cross bar with the bent spigot.
- From one end of the annexe start erecting all your poles, working your way towards the other end. The spreader crossbars have a bent spigot which fits into the black plastic holders attached to the camper. Note that the upright poles have a thumb screw (wing nut) on the top which goes on after the canvas. A diagram is enclosed in your delivery package.
- When you have the entire frame in place, proceed to zip on your walls if you have these, in any order desired (the height of the walls will determine the length of the upright poles). Once all walls are in place, do up the touch tape ties and then tension out the spreaders.
- Put in the pegs for the walls, starting at the corners first. The poles also have a plate on the bottom with a hole for pegging down once you’re happy with their location, to stop the wind from blowing the roof up.
- Adjust and tighten poles to ensure walls and roof are tight and firm.
- Attach the draft skirt to the back end of the trailer using touch tape from your road cover. This is only provided if a full annexe is ordered unless you have ordered it separately. This can be added later. (Great for wind and keeping items under trailer hidden/tidy.)
TIP: When folding up awning, fold it up to make easier next time to put up with the zip ready to go on.
No guy ropes required
